|
|
Free Lessons Courses Seminars |
TechHelp Fast Tips Templates |
Topic Index Forum ABCD |
|
||||||
|
|
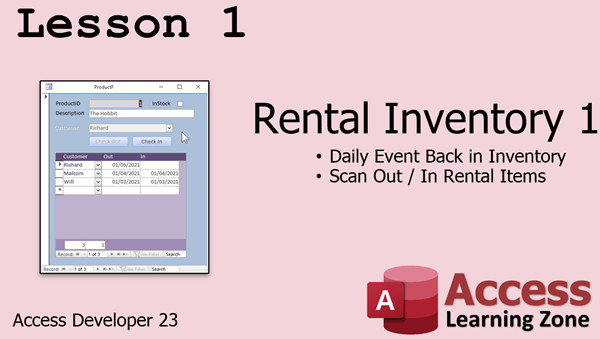
Access Developer 23 Rentals In/Out, Order Entry, Product Inventory WelcomeDeveloper 23 continues our study of Recordsets. We will design a database to manage rentals (books, tools, etc.). You can check them out individually, and check them out in batches. Then we will build an order entry system with a printable invoice, and set up inventory control when products are shipped to track product quantities on hand. ResourcesTopics CoveredIn Lesson 1, we will learn how to track rental inventory items. Say you have a store or library that tracks items that get rented (or borrowed) and need to be checked in and out. You can assign them to a customer, track their rental history, know when they're late, and so on.
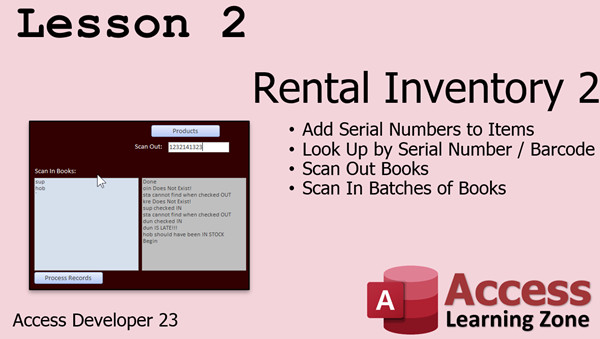
In Lesson 2, we will add serial numbers to each item. These can be barcode numbers or whatever other type of data you wish to track each specific item with. You can pull up an item by scanning it. You can check the item out like in Lesson 1. In this lesson we'll use a big text box so you can scan or type in a bunch of items at once and have Access analyze the list and scan all of those items in with one batch. Great for book returns and you don't want to take the time to pull up each book. Just scan in the whole lot.
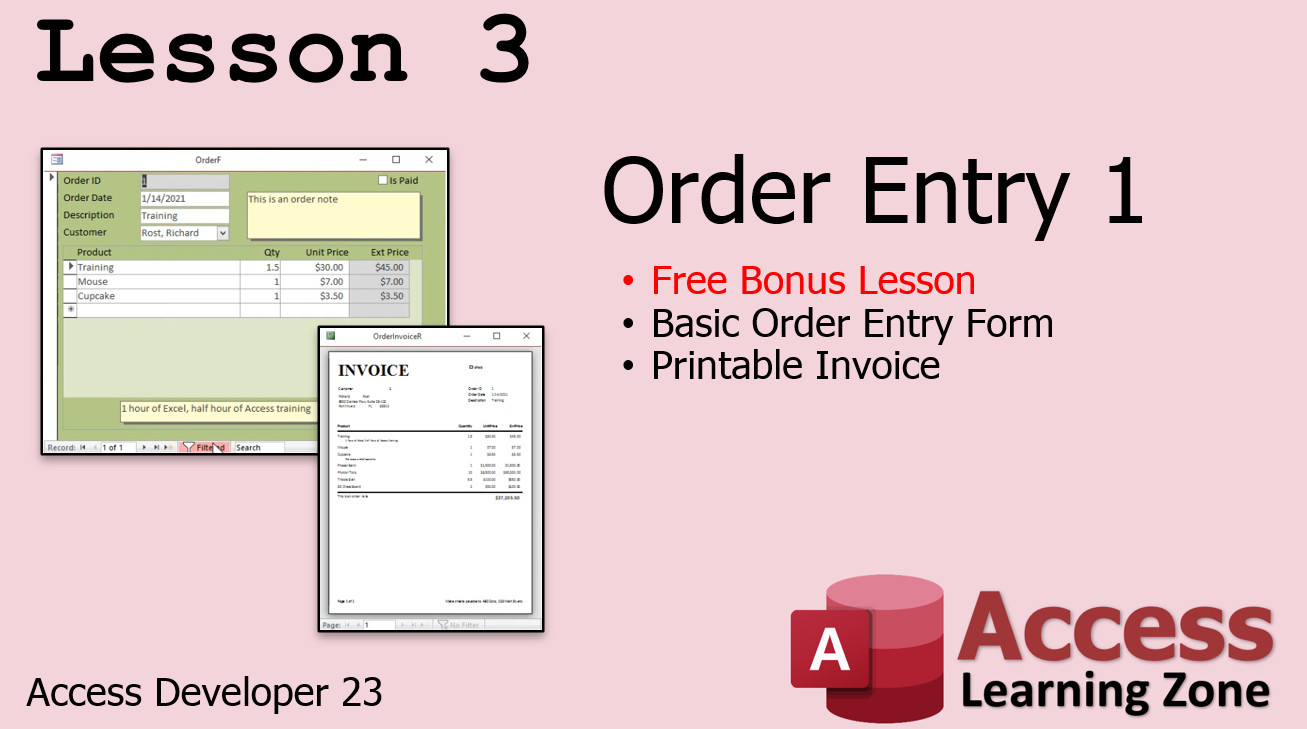
In Lesson 3, we will build an order entry system complete with a printable order form. We already covered something similar in earlier Access Expert classes, but I want a new fresh template (with some cool new techniques) for the upcoming Developer lessons. The old database was cluttered with a lot of extraneous stuff just so I could teach you different techniques. This is BONUS material, meaning the whole lesson does not count towards your hour for this class.
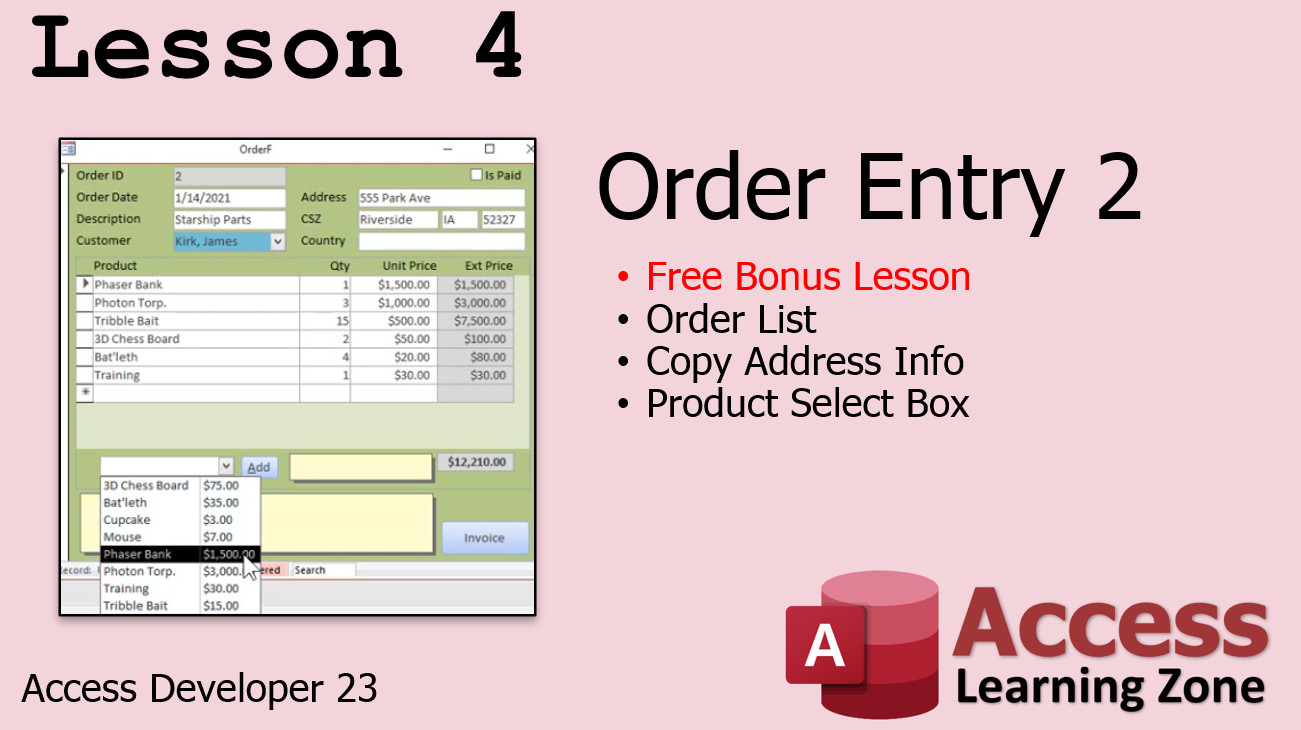
In Lesson 4, we are continuing with the order entry system. We will add an order list, copy the customer's address info from the customer record when a new order is placed, and create a product select combo box so you can easily add new items to the order. Again, this is another FREE bonus lesson.
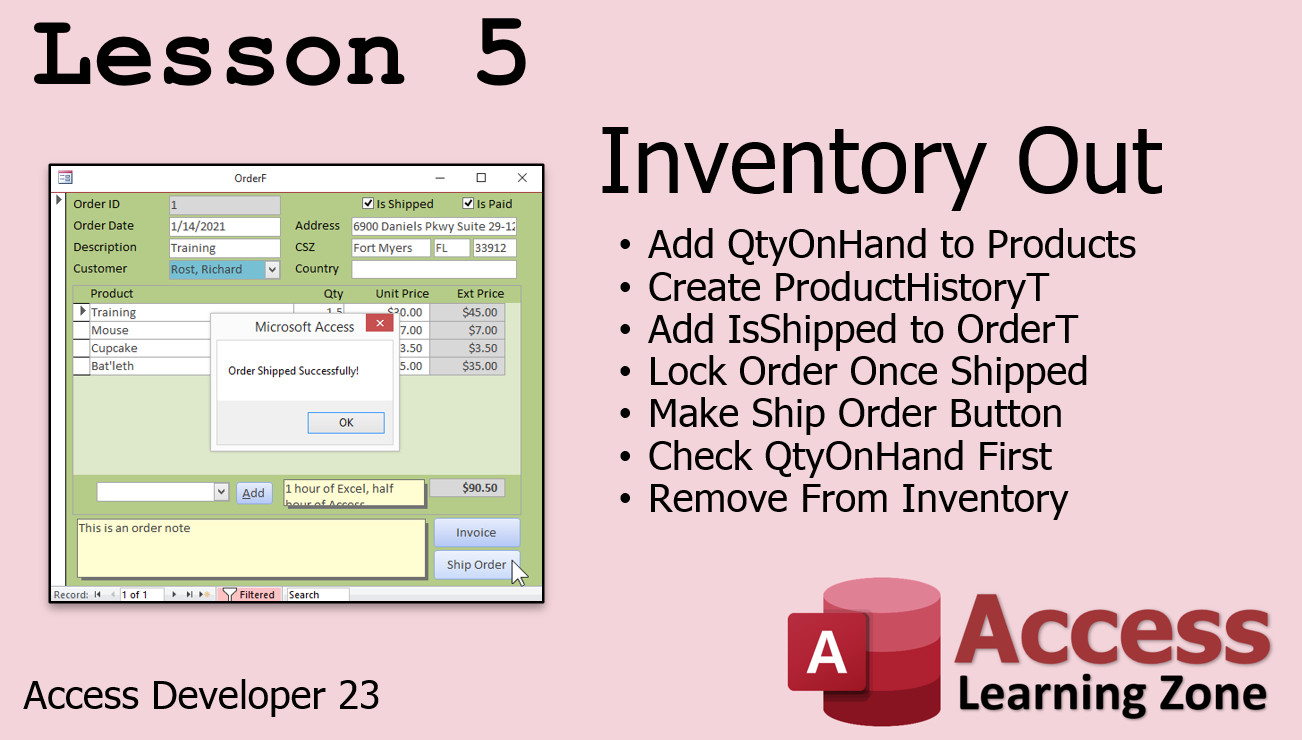
In Lesson 5, we get to some new material with Recordsets. We will add QtyOnHand to our product table and create a product history table so we can audit transactions. We will add IsShipped to our order table to track whether or not an order has been shipped. If so, the order can no longer be edited (we'll lock it down). When the order is ready to be shipped, we'll click on a "Ship Order" button. First the inventory will be checked to make sure we have enough product to ship the entire order. If so, we'll then remove the products from inventory.
Enroll TodayEnroll now so that you can watch these lessons, learn with us, post questions, and more.
Questions?Please feel free to post your questions or comments below. If you are not sure as to whether or not this product will meet your needs, I'd rather help you before you buy it. Remember, all sales are final. Thank you.
TranscriptWelcome to Microsoft Access Developer Level 23 brought to you by AccessLearningZone.com. I am your instructor, Richard Rost.In today's class, we are working more with record sets. Today, we are going to cover scanning in and out rental items, building an order entry system with a printable invoice, and tracking inventory. I will be using Access 365, which is roughly close to Access 2019. Everything I cover in today's class should be good going back to, I am going to say, 2007. This class follows Access Developer 22. I strongly recommend you watch that class first. All of my previous classes from the beginner, expert, advanced, and developer series, especially 16 and on, should also be watched, as we start covering record sets at that point. If you have any questions regarding the material covered in today's class, just scroll down to the bottom of the page that you are on and post them there. Also, take a minute to read through any of the other questions that have been posted, as your question may have already been answered. Make sure you click on the big red subscribe button to get notified if any other questions or comments are posted for this class. If you have any questions that are not about the material covered in today's class, feel free to post them in the Access forum on the website. Now, let's take a closer look at what is covered in Developer 23. In lesson one, we are going to build a form to do rental inventory. This is where you have either books, videos, tools, or a library, whatever rental inventory needs to be tracked. You have a specific item like a book. You have a list of customers. The customers will check out those items. They are due back on a specific date. So, you check it out and check it in. You have to lock the customer field and lock the buttons. We will scan in and out rental items in lesson one. In lesson two, we are going to take our rental inventory database and add serial numbers to the items. These serial numbers can be whatever you want. You can print out barcode labels if you choose to, and you can put those on your items. Then, we will scan those out by scanning in the barcode number or the serial number. We will be able to scan them back in batches. If a whole bunch of books come back, you can just go scan, scan, scan, scan into a text box right there, hit the process records button, and then our record set will loop through all of the items, check them, make sure they were out, check some other rules, and then scan them back in. In lesson three, we are going to build a simple order entry system, including an order entry form with a subform and a printable invoice. In lesson four, we are going to continue with the order entry system. We are going to build an order list form so we can see all the orders in the system. We will copy the customer's address information to the order when the order is placed. That way, you have a history of where that order was shipped to. We are going to add a product selection box so you can pick a product from a list, hit add, and it adds it to the order. You will not have to type in the order information or the pricing and all that stuff. In lesson five, we are actually going to track inventory out in our system. We will create a product history table so we can audit the transactions. Every time product goes out, I want to know about it. We will add is shipped to each order, so I know if this order has been shipped or not. We do not want to ship the same order twice. We will lock down that order once it has been shipped, so they cannot change any of the details or delete it. Then, we will make our ship order button. We will check to make sure the order has been paid first and that it has not already been shipped. We will run through all of the items with a record set and make sure we have enough quantity to ship all the products on this order. If so, we will ship it and tell the user the order shipped successfully. Then, we will remove those products from the inventory. IntroIn lesson 23 you will learn how to work with record sets in Microsoft Access by building a rental inventory tracking form, adding serial numbers and barcode scanning for batch check-in and check-out, creating a simple order entry system with a printable invoice, setting up an order list with product selection, and tracking inventory through a product history table. You will also see how to lock shipped orders, ensure orders are paid before shipping, and manage inventory updates when orders are processed.QuizQ1. What is the main focus of Microsoft Access Developer Level 23?A. Building a website using Access B. Working with record sets, rental inventory, order entry, and tracking inventory C. Creating a payroll management system in Access D. Designing a custom Access theme Q2. What is introduced in lesson one of the class? A. Creating crosstab queries B. Building a form to manage rental inventory and scanning items in and out C. Developing charts and reports D. Programming user permissions Q3. In lesson two, what feature is added to the rental inventory database? A. Price tracking by item B. Serial numbers for items and barcode scanning C. Customer loyalty points D. Color-coded categories for inventory Q4. Which new capability is added regarding scanning in lesson two? A. Emailing receipts to customers B. Printing shipping labels C. Scanning items back in batches using a barcode or serial number D. Scheduling pickups for rentals Q5. What is built in lesson three? A. A mailing label generator B. A simple order entry system with a subform and printable invoice C. A membership renewal form D. An employee time tracking sheet Q6. What improvement is made to the order entry system in lesson four? A. Automating follow-up emails B. Collecting customer feedback C. Order list form, copying customer address to the order, and product selection box D. Inventory aging report generation Q7. What is the purpose of creating a product history table in lesson five? A. To track when new products are added to the database B. To audit transaction history for inventory movement C. To log employee activity in the system D. To summarize sales statistics per month Q8. How is shipping status managed for orders? A. Using a color coding system for shipped and unshipped orders B. Orders are archived once shipped C. Adding an 'Is Shipped' field, preventing changes or deletion after shipment D. Orders are deleted after shipment Q9. What checks are performed before shipping an order? A. Customer feedback is collected B. Ensuring the order is paid, not already shipped, and sufficient quantity is available C. Delivery address is verified by phone D. Sending a reminder email to the supplier Q10. What happens to inventory after an order is shipped? A. It is restocked automatically B. Its price is increased C. The corresponding products are removed from inventory D. A message is sent to the customer Answers: 1-B; 2-B; 3-B; 4-C; 5-B; 6-C; 7-B; 8-C; 9-B; 10-C DISCLAIMER: Quiz questions are AI generated. If you find any that are wrong, don't make sense, or aren't related to the video topic at hand, then please post a comment and let me know. Thanks. SummaryToday's video from Access Learning Zone focuses on Microsoft Access Developer Level 23. I am your instructor, Richard Rost.In this class, we are going to expand on our work with record sets. The primary topics include handling rental inventory by scanning items in and out, constructing an order entry system with a printable invoice, and establishing a process for tracking inventory effectively. I'll be working in Access 365, which is similar to Access 2019, but the lessons here should apply to versions as far back as Access 2007. This class builds directly on what we covered in Access Developer Level 22, so I strongly suggest completing that class first. If you are new to record sets, be sure you are up to date with my previous series, especially those beginning with Level 16 in the developer sequence. If you have questions about anything you see in today's class, you can scroll to the bottom of the class page and add your question there. It's a good idea to check through the existing responses as well, since many common issues have already been answered. To stay current when new topics or responses are added, make sure you are subscribed. Questions that are not related to today's class content can be asked in the main Access forum on my website. Let me now break down what we will cover in Developer 23. Lesson one focuses on building a form for a rental inventory system. This type of database is useful for tracking items such as books, movies, or tools that your customers borrow and return. We will set up a method for customers to check out items, assign due dates, and then check them back in when returned. This lesson will cover locking specific form fields, ensuring only available functions can be accessed, and how to scan items in and out. Lesson two introduces serial numbers for the items in your rental inventory. You can generate and use your own codes or even print barcode labels if you wish. We'll cover how to scan items out by their serial or barcode numbers, and how to efficiently scan multiple returned items in one batch, processing them all at once. The system will check each scanned item to confirm it was checked out, validate against other business rules, and then mark it as returned. Lesson three involves building a straightforward order entry system. This will include an order entry form, a subform for order details, and the ability to print invoices. In lesson four, we continue with the order entry system by creating an order list form. This provides you with a view of all orders in your system. Address information for customers will be copied to the order at the time of placement, giving you a historical record of where each order was shipped. We'll add a product selection feature, allowing you to choose items from a list and automatically insert them into the order. This minimizes manual data entry for product details and pricing. Lesson five is about actively tracking inventory as items are processed through the system. We will set up a product history table, so you have a record of all inventory transactions. This audit trail shows you exactly when and how products leave inventory. Additionally, we will add a shipped status to orders, so you know which orders have already gone out. Orders that have been shipped will be locked down for editing or deletion, helping prevent duplicate shipments or accidental changes. We will also develop a procedure for shipping orders, ensuring that payment is confirmed and that the order has not already been shipped. Before shipping, the system will check inventory levels for each item and only allow the shipment if the stock is sufficient. Once an order is shipped, the inventory counts will be updated accordingly. If you would like to see a comprehensive video tutorial with step-by-step demonstrations of everything covered here, please visit my website at the link below. Live long and prosper, my friends. Topic ListBuilding a rental inventory tracking formScanning in and out rental items Locking customer fields and form buttons Adding serial numbers to inventory items Printing barcode labels for items Batch scanning items for check-in Processing scanned items using recordsets Validating checked-out status before processing Building an order entry system with subform Creating a printable invoice from order data Building an order list form to view all orders Copying customer address data to orders Adding products to orders using a selection box Tracking inventory outflows per order Creating and using a product history audit table Adding shipped status to orders Locking orders after shipment to prevent changes Implementing a ship order button with validation Ensuring payment and shipment checks before shipping Verifying available quantity before order shipment Removing shipped products from inventory Primary Topicsrecord sets, rental inventory tracking, scan in/out items, serial numbers, barcode scanning, order entry system, invoice generation, inventory tracking, shipping managementSecondary Topicscustomer history, product selection automation, order auditing |
||
|
| |||
| Keywords: access developer 23 rental store book rentals check out order entry printable invoice inventory out product select combo box Rental Inventory Serial Numbers Barcode Scan In Out Daily Event Order Entry Form Printable Invoice Order List Form Copy Customer A Page Tag: whatsnew PermaLink Microsoft Access Developer 23 |